Chalk Paint: Homie, Lover, Friend
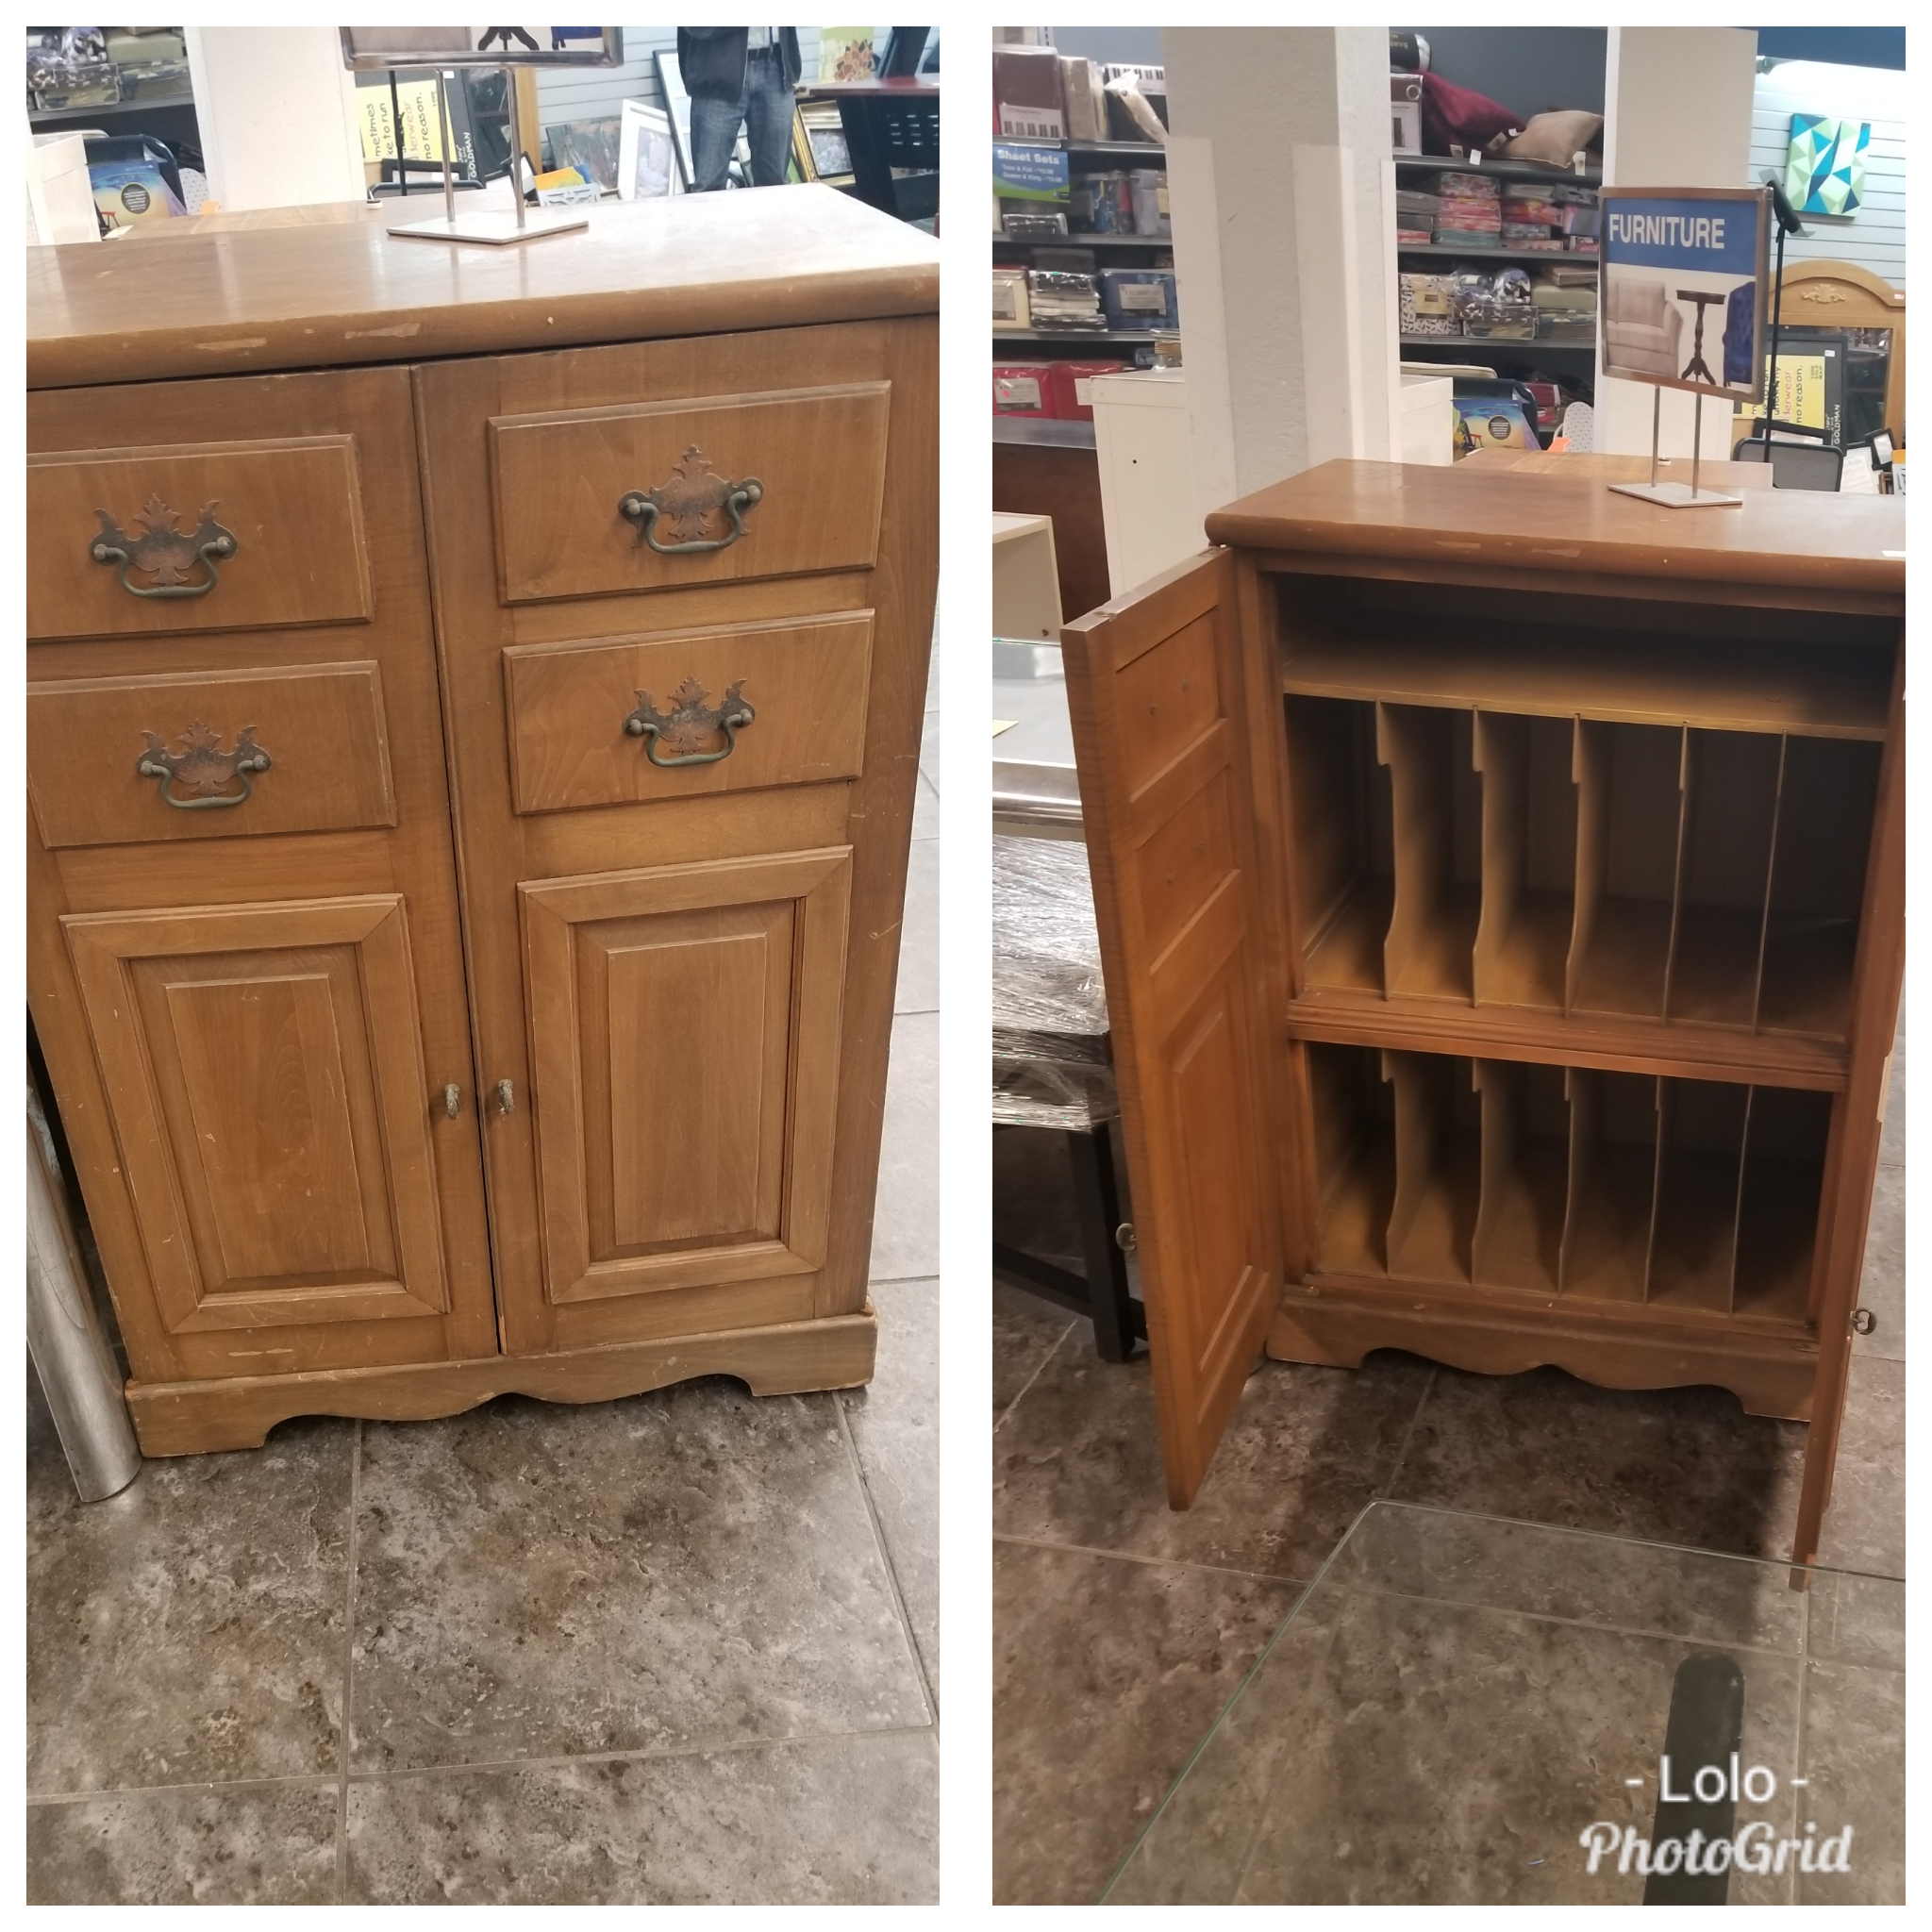
A few months ago I was wandering through Goodwill and came across a vintage record cabinet. I’d been looking for a way to store my sewing patterns and this cabinet was perfect. The price tag? $35! Yea, so you know I had to buy it. I was so pumped up with adrenaline from the sale that I was able to lift it into the trunk by myself.
After getting it home, cleaning it and setting it up in my craft studio, I realized that it didn’t exactly fit with my décor. In fact, it stuck out like a sore thumb among my other furniture which is simple, modern, and black.
Unsure of what to do, I reached out to my Facebook Craft Hoarders group to ask for advice. I knew I wanted to paint the cabinet and that I didn’t want to use spray paint since my apartment doesn’t have the best ventilation. Well my DIY Tribe showed up and showed out. They gave me so many helpful and informative suggestions. In a matter of hours I came away with an attack plan. I was going to use black chalk paint and switch out the hardware for something more modern.
Supplies:
I bought several containers of chalk paint at Michael’s. It usually comes in 8oz or 16 oz containers. By the time I was done doubling down on the paint I had 32 ounces of black chalk paint.
I also purchased sandpaper. My tribe told me that one of the great things about chalk paint was that you don’t have to sand wood before applying the paint. But I wanted to have the sand paper just in case.
There are four double pronged handles and two single pronged handles that I wanted to replace. I found two really cute single pronged handles at Hobby Lobby. But since the four double pronged handles were hard to find precise matches for, I decided that I would paint those.
I also picked up some paint brushes. I already owned some angled sponge brushes but wanted to get some hair brushes as well.
Prep:
Thoroughly cleaned the cabinet and let it dry. (I ended up not needing the sand paper. Win!)
Taped all the areas that I didn’t want to paint.
Removed the hardware and I moved the cabinet onto a paint tarp.
Steps:
I painted the hardware with a sponge brush which frankly was a mistake. More on that later.
I used two coats of paint on the cabinet done a day apart. When I finished the first coat, I went back over with the paintbrush smoothing out the excess paint. I did the same thing with the second coat. The second coat also allowed me to correct the streaks that the first coat left.
I checked for any missing spots and did touchups as needed.
Making sure the cabinet and hardware was completely dry I screwed the hardware back in and moved the cabinet back into place.
Lessons Learned:
Don’t buy so much paint. After two coats and touch ups I only used about 8 ounces of paint. I generally like to be over prepared for crafts because there’s nothing worse than running out of supplies halfway through a project. But I’m also working on making sure my craft space isn’t cluttered with extra, unnecessary supplies.
I probably should have removed my patterns. But I had just organized them so nicely that I didn’t want to have to redo my work. So I left them inside and just tried to be as careful as possible when doing any painting inside the cabinet.
On the same note, I would have used more tape so that I didn’t have to be as careful as I did.
Use spray paint for the hardware. I think that using spray paint is the ONLY way to paint metal and have it look even and clean. The paint job on the hardware is not even close to perfect. But it’s good enough. You can only tell that I screwed it up if you look really closely. Please, please don’t look really closely.
I am now head over heels in love with chalk paint. It’s really easy to use. Even if you’re not an advanced crafter, it’s pretty hard to mess up. It also looks so clean and crisp. I can’t wait to stumble on another piece of awesome furniture to zhuzh up.
Follow us on Twitter @FlairHuxtable, Instagram @Flair.Huxtable and @HomeBrewedLove, and Facebook at @Flair Huxtable! Then buy Lo’s first book, “The Semester,” HERE!


